Did you know that over 40% of waterfront property owners in Southwest Florida say corrosion shortens their craft’s life by years?
This matters because your gear faces salt, sun, and storm risks every season. You deserve simple answers and quick service. At Tropical Marine Construction of SWFL, located at 1222 SE 47th St Suite C1, Cape Coral, FL 33904, our team helps you pick the right system and makes sure the work meets safety standards for your shoreline.
If you have questions, call (239) 542-1004 to talk with a trusted local dealer who knows Cape Coral conditions. We explain which model fits your vessel and why proper installation is the first step in protecting your asset from harsh saltwater.
Key Takeaways
- Call (239) 542-1004 for expert guidance and service in Cape Coral.
- Tropical Marine Construction of SWFL is your local dealer at 1222 SE 47th St Suite C1.
- Proper installation prevents corrosion and extends the life of your craft.
- Our staff answers your questions about system fit and safety standards.
- Quick, clear advice helps you protect your waterfront investment.
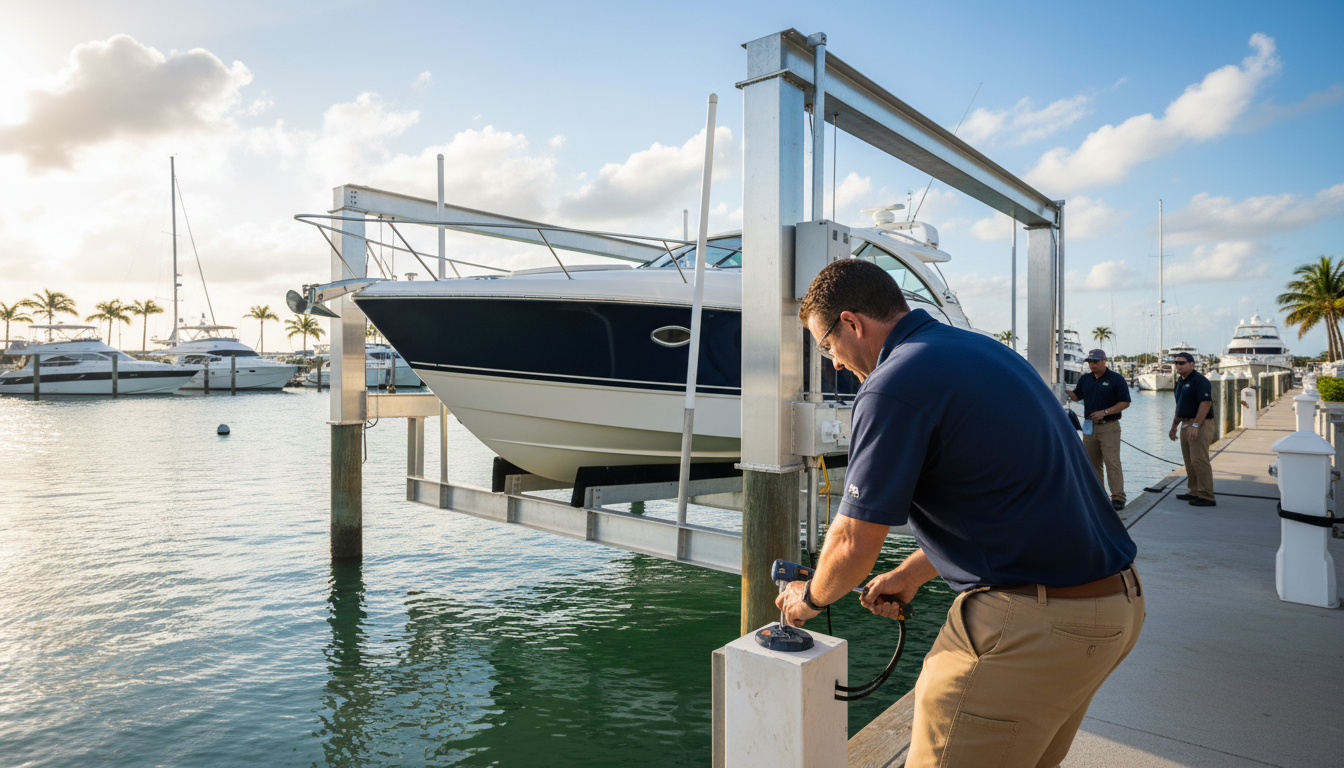
Understanding the Benefits of a Boat Lift
A secure lifting system shields your hull from salt, debris, and marine growth year-round. In Jacksonville, keeping your craft out of corrosive water slows metal and gelcoat decay. That means fewer repairs and more time on the water.
Beyond corrosion control, a good lift protects against floating debris that can dent or puncture your hull. It also prevents organisms from attaching below the waterline, which improves speed and fuel efficiency.
- Storm safety: properly secured systems stop your vessel from drifting during rough weather.
- Bilge backup: a raised craft won’t sink if a pump fails while you’re away.
- Day-to-day care: less hull fouling means easier cleaning and better performance.
- Long-term value: boat lifts help preserve resale value and lower maintenance bills.
Preparing for Your Boat Lift Installation
Start every project by reading the manufacturer’s manual so you follow the exact sequence for your model.
That manual contains critical torque specs, lubrication details, and assembly steps. Follow those instructions to avoid premature wear or warranty issues.
Reviewing Manuals and Warranty
Gather tools and parts first. Check that you have the correct bolts, hardware, and any specialty tools the manufacturer calls out.
Confirm torque settings and lubrication points. Missing those steps can cause damage to cables and other system parts not covered by warranty.
If warranty terms are unclear, call your local dealer before you begin. A quick check can save time and prevent denied claims later.
| Task | Why It Matters | Quick Tip |
|---|---|---|
| Read manual | Ensures correct sequence and specs | Highlight torque values |
| Gather hardware | Prevents delays and wrong bolts | Lay out parts before starting |
| Check warranty | Avoid voiding coverage | Call dealer for clarification |
| Lubricate parts | Reduces wear and extends life | Use manufacturer-recommended lubricant |
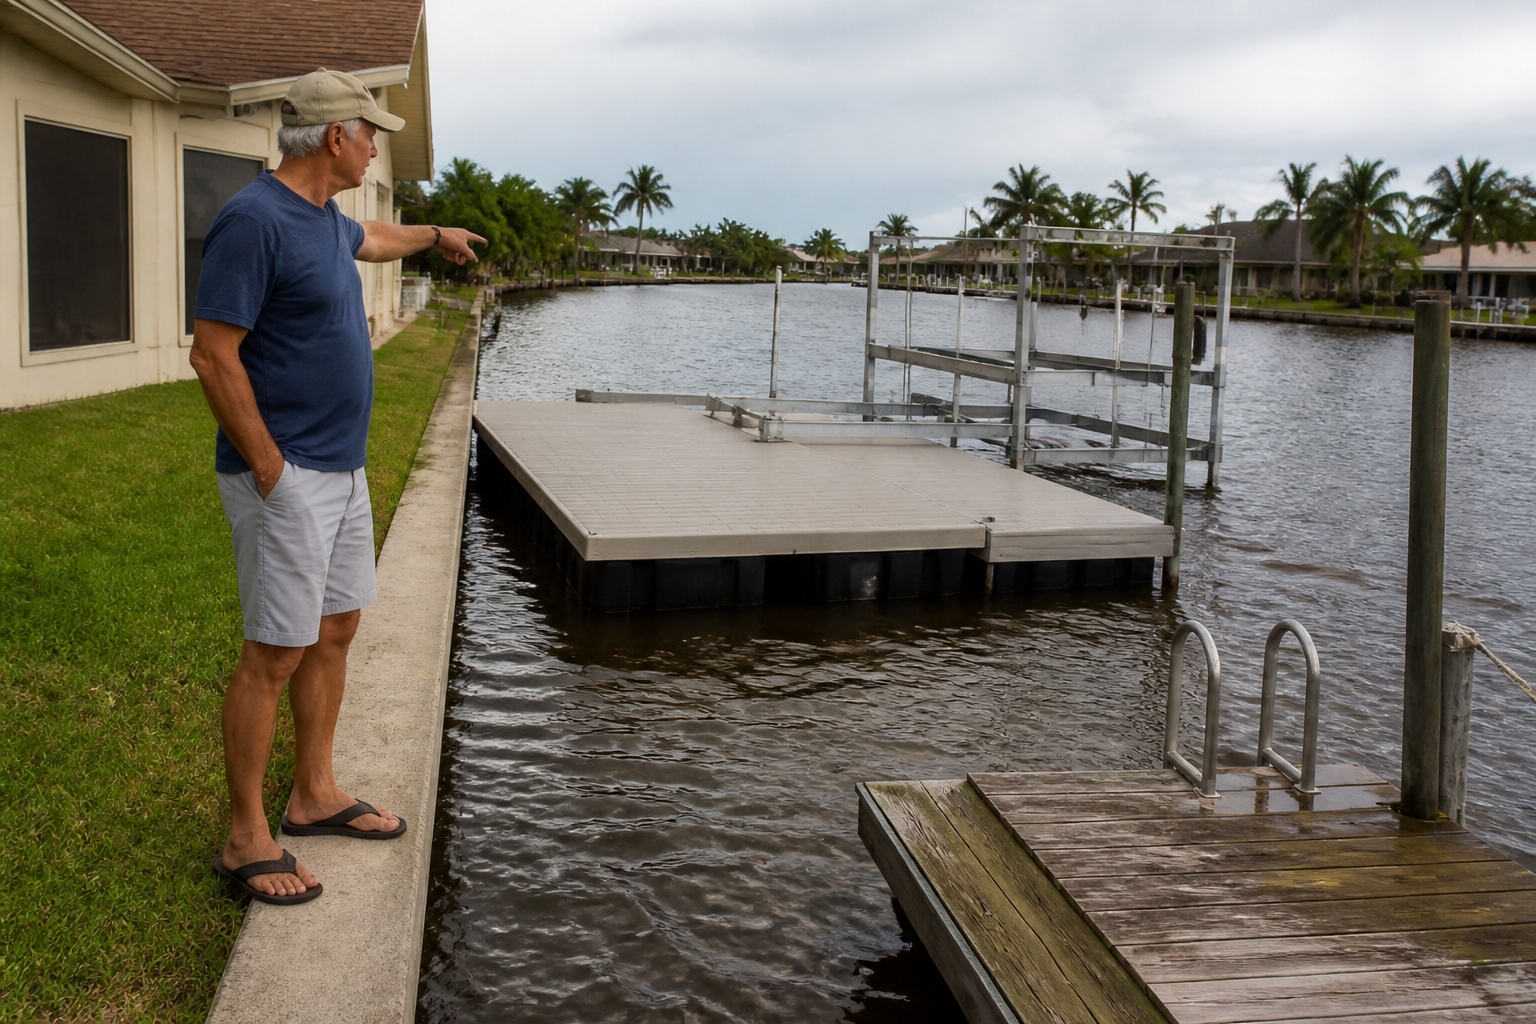
Assessing Your Waterfront Location
Start by walking your shoreline to check depth, bottom type, and any obstructions that could affect placement.
Measure the water depth to confirm the vertical range needed for your boat lift installation. Note changes in level through the year so you can plan for a few inches of adjustment when water rises or falls.
Survey the underwater terrain. Rocky bottoms give solid bearing for the frame and legs, while soft sand or mud may need reinforcement or deeper footings.
Clear debris and vegetation near the dock so the structure sits flat on the canal bottom. Then pull your boat up beside the dock to test spacing and access before finalizing the location.
| Checklist | Why it Matters | Quick Action |
|---|---|---|
| Depth measurement | Ensures proper vertical travel | Record low and high water depths |
| Bottom type | Affects support for frame and legs | Probe with pole; note rock vs sand |
| Water-level changes | Requires allowance of inches for range | Plan adjustable stops and guides |
| Debris/vegetation | Prevents uneven seating and wear | Clear area; remove snags and roots |
Essential Tools and Safety Gear
A well-organized tool set and proper safety gear cut risk and speed up every step of assembly. Start by gathering wrenches, sockets, screwdrivers, and a good level so you can work efficiently.
Protect yourself with gloves and safety glasses when you handle the heavy frame or winch unit. If the water is cold, wear waders so you stay dry and comfortable.
Label and sort your hardware before you begin. Laying parts out in trays or labeled bags keeps bolts and small pieces from getting lost.
- Essential hand tools: ratchets, sockets, screwdrivers, and a level.
- Safety gear: gloves, eye protection, and waders as needed.
- Organization: labeled hardware and a parts checklist.
Because some components carry significant weight, arrange for at least one helper when moving frames or the winch unit. Working with another person lowers risk and speeds tasks near the water well.
Assembling the Frame and Components
Begin assembly on firm ground to align crossbeams, brackets, and supports accurately. Working onshore gives you room to sort parts and check the manual before moving anything into the water.
Connecting Crossbeams and Supports
Follow the manufacturer’s instructions and bolt crossbeams to the cradle and side supports in the order shown. Use stainless steel bolts where the manual calls for them to prevent rust and keep the frame strong for years.
Organizing Hardware
Lay out washers, nuts, and brackets in labeled trays so each step is clear. Keep the unit’s instructions handy and tick off steps as you go.
Thread the cable carefully around the pulleys. Check that the cable has no twists or kinks so the unit runs smoothly when loaded.
When you move the frame into the water, keep it balanced. Have helpers steady the weight at both sides to protect the cradle and side supports.
- Assemble on shore.
- Use stainless steel hardware.
- Organize bolts and brackets by step.
- Balance weight when launching the frame.
Positioning the Lift in the Water
Set the frame afloat and move it slowly to the chosen spot, keeping the weight balanced at all times.
Carry, float, or roll the partially assembled unit into the water with at least one helper. Keep both sides level as you toe the frame toward the final location.
Use a level to make sure the unit sits even. Adjust the legs or pads on the bottom by a few inches until the cradle reads level and the frame feels stable.
Secure and thread the cables around the pulleys exactly per the manual. Check each cable for twists or kinks before you apply tension so operation runs smoothly.
Do a full test-run without a boat. Raise and lower the unit slowly to confirm smooth operation and that the cradle stays even across the frame.
If you need to tweak the position by inches, move slowly and keep the structure balanced. Clear any debris under the bottom so nothing blocks the legs or pads.
Connecting Cables and Hydraulic Systems
Begin with a clear plan for each cable run and hydraulic connection so nothing gets pinched or crossed. Route cables and hoses where they stay clear of moving parts and sharp edges.
Cable Tensioning
Cable Tensioning
Follow the manual’s instructions when you set tension. Tighten bolts a little at a time and check alignment at each pulley.
Inspect cables for fraying, broken strands, or loose fittings before you apply full tension. Replace any damaged cable right away.
- Align pulleys so the cable tracks straight.
- Use a torque wrench on specified bolts.
- Test movement slowly as you increase tension.
Hydraulic Fluid Checks
Hydraulic Fluid Checks
Connect hydraulic hoses per the manufacturer and snug all fittings to prevent leaks. Check fluid in the unit and top to the recommended level.
Run the unit through several cycles and watch for smooth, consistent movement of the cradle. Listen for odd noises and check for damp spots that signal a leak.
- Confirm hose routing avoids chafe points.
- Replace any worn fittings or cracked hoses.
- Address leaks or uneven tension immediately to protect your vessel and system.
Testing for Smooth Operation
Start by running the unit empty through a full cycle to confirm smooth movement and correct stops.
Raise and lower the cradle fully without a boat to listen and watch. Check that the boat lift stops at the right height relative to the water and that travel is even on both sides.
If you hear grinding, clunks, or rubbing, stop the operation immediately and inspect pulleys, cables, and fittings. Address any binding or odd noises before you add weight.
Do a few slow cycles and then a normal-speed run. A successful test shows consistent motion and correct limit positions. That confirms the installation is secure and the unit is ready to support your boat.
Keep a simple testing habit: run the system monthly and after storms. Regular checks help prevent surprises and keep the unit in reliable service whenever you want to get on the water.
Adjusting Your Lift for Specific Boat Models
Adjust the cradle to fit your hull. Your craft rarely centers perfectly between the posts, so move pads and supports until the weight sits evenly. Small shifts of a few inches toward the side that carries more weight make a big difference.
For a 24-foot example: about one third of the hull often sits forward of the unit, with the front arm close to the helm. Use that as a guide when positioning the cradle so the hull is supported under its strongest points.
If someone has trouble boarding, take the boat off the cradles and pull close to the dock side for easier access. This simple step helps guests and family get on and off safely without stressing the hardware.
Level the legs or pads on the bottom until the unit reads even. Check the side-to-side balance and the fore-and-aft placement in inches so the hull rests without pressure points on the bottom or edges of the cradle.
Consult your technician about post location and fasteners. Confirm the hardware won’t rub the hull or block your swimstep and make any final tweaks before you put the vessel back in service.
Seasonal Maintenance and Care
Seasonal checks keep small problems from turning into costly repairs. Rinse the frame with freshwater to remove algae, salt, and sediment that cause rust and wear. Do this after heavy use and any storm exposure to protect stainless steel parts and fittings.
At least once a season, inspect cables, pulleys, and the hydraulic system on the unit for fraying, leaks, or loose bolts. Take time to inspect cables visually and by feel so you catch early signs of wear before they affect operation.
Lubricate moving parts exactly as the manual directs to ensure smooth operation and prevent rust. If you spot any damage or instability, address it immediately rather than waiting. Small fixes now save time and money later.
- Quick checklist: rinse with freshwater; inspect cables and pulleys; tighten bolts and fittings.
- Record weight limits and note any unusual noises during each check.
- Follow the manual for lubrication points and torque specs.
Proper Procedures for Boat Lift Removal
Safe removal starts with lowering risk: detach extra gear and lighten the frame first.
Step 1 — Reduce weight. Remove covers, canopies, and motors so the unit is easier to handle and less likely to cause damage during removal.
Step 2 — Release cable tension. Follow the manual from your manufacturer to slacken cables and make sure each cable and pulley is free before detaching any hardware.
Step 3 — Depressurize the hydraulic system. Use the manufacturer’s instructions to bleed lines and disconnect hoses carefully to avoid spills or equipment damage.
Step 4 — Disassemble methodically. Once tension and pressure are removed, remove brackets and bolts in a set order so sections come apart safely without unexpected shifts.
Storage and care: Clean and store all parts in a dry, covered area to prevent rust and wear. Tag small hardware and keep cables and cable ends protected.
| Action | Why | Quick Tip |
|---|---|---|
| Remove accessories | Reduces overall weight | Label parts by area |
| Slack cables | Prevents snap-back damage | Follow the manual step-by-step |
| Depressurize hydraulics | Avoid fluid spills and damage | Drain into approved container |
| Store components | Protects against rust and wear | Use covered shelving or pallets |
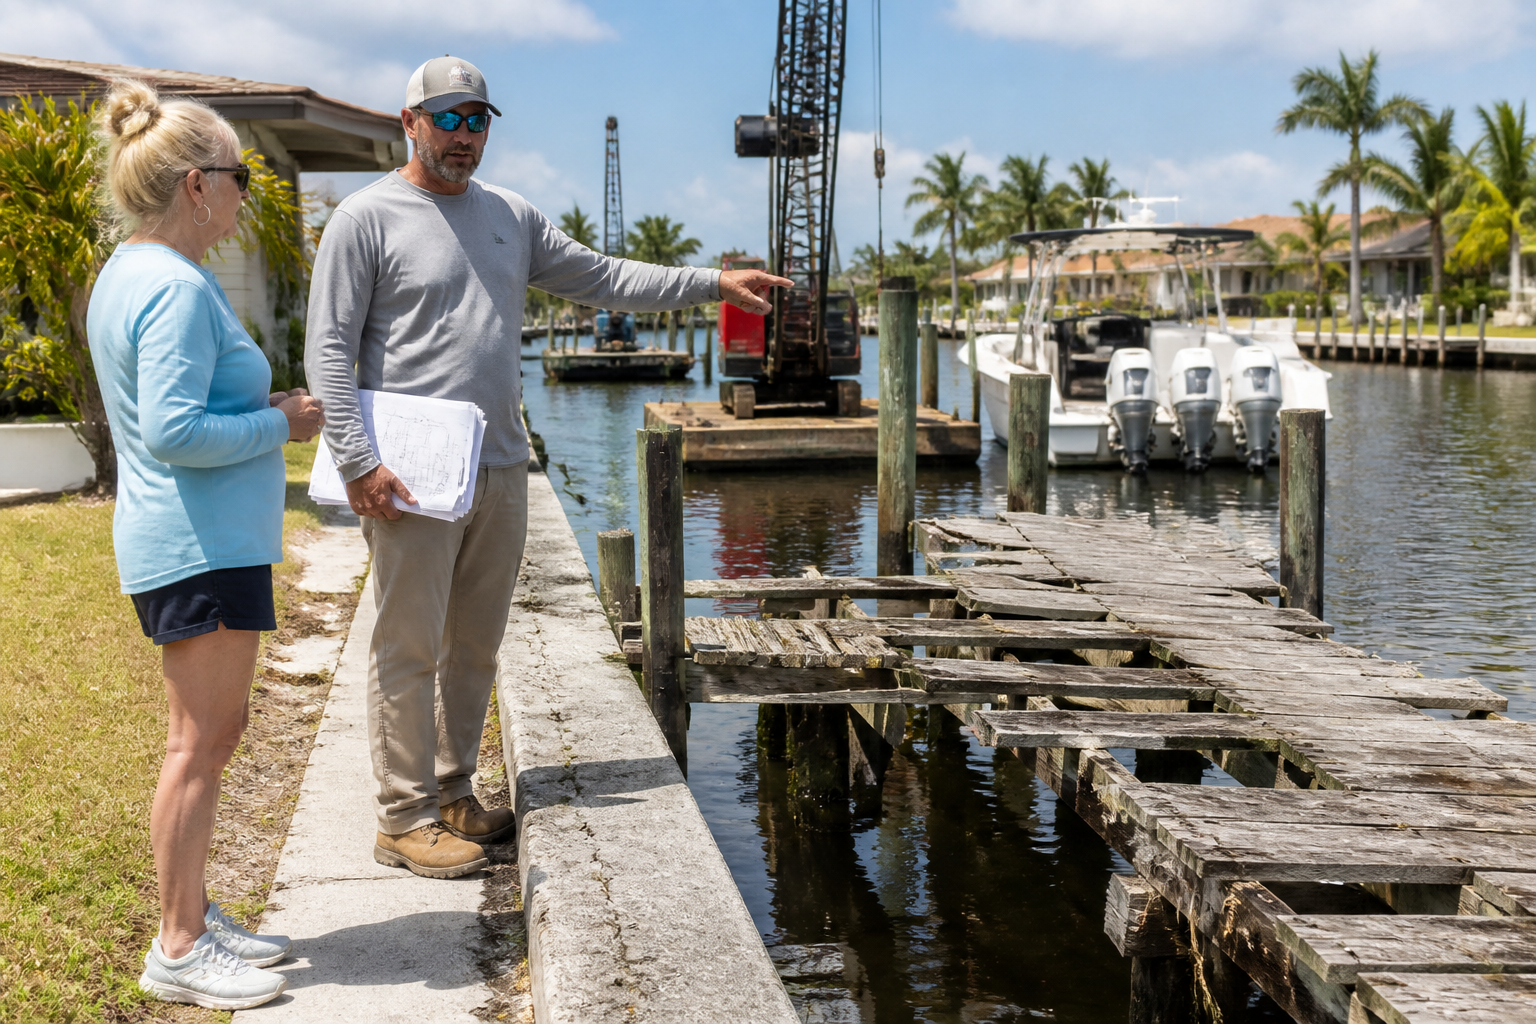
Choosing Between DIY and Professional Services
Deciding whether to tackle the project yourself or call pros depends on your comfort with heavy tools and precise steps.
Do-it-yourself works if you read the manual, follow the instructions step by step, and can arrange extra hands for heavy sections. You’ll save labor costs and learn the system details that help with future care.
DIY risks include misaligned brackets or frame positioning that can cause damage to your hull or the unit. If you’re unsure about weight limits or the proper location at the dock, pause and get advice.
Hiring a professional ensures work follows warranty rules and local codes. Pros speed the operation and reduce the chance of costly errors during critical steps.
- DIY: lower cost, more hands-on control, needs careful planning.
- Pro service: higher upfront cost, less risk, warranty-friendly results.
- If you have questions about the process or details, contact your local dealer for guidance and support.
Conclusion
Consistent care and the right guidance turn one-time work into years of reliable service.
Proper boat lift installation and routine maintenance protect your investment and keep your craft ready to use. Follow the manufacturer manual and keep checks simple: rinse the frame, inspect cables, and tighten fasteners.
If you face any questions about your specific model, contact a local dealer for tailored advice. With safety first and steady upkeep, your boat lift will deliver easy water access and long-term peace of mind.
FAQ
What should I check in the manual and warranty before starting installation?
Read the manufacturer’s instructions thoroughly and note warranty limits, required maintenance intervals, and approved fittings. Verify frame specs, hardware torque values, and any weight limits. Keep the manual and warranty card handy during assembly and for future service calls.
How do I assess my waterfront location for suitability?
Inspect water depth, bottom composition, and local water level fluctuations. Look for obstructions, strong currents, or shallow spots that could affect positioning. Check local codes and HOA rules, and talk to a dealer about anchoring options and bracket placement for your shoreline type.
What tools and safety gear will I need?
At minimum bring stainless-steel wrenches, a torque wrench, pliers, a cordless drill, and marine-grade fasteners. Wear gloves, non-slip footwear, and eye protection. Have a life jacket nearby and a helper for handling heavy components and aligning the frame.
What’s the best way to assemble the frame and connect crossbeams?
Lay out parts on a flat surface, follow the sequence in the instructions, and loosely thread bolts first to align holes. Tighten fasteners to the specified torque once everything sits square. Use anti-seize on stainless hardware where appropriate to prevent galling and rust.
How should I organize hardware during the build?
Sort bolts, nuts, washers, and spacers into labeled trays or zip-lock bags. Keep stainless fittings separate to avoid confusion. That reduces assembly time and prevents missing components when you reach the water.
How do I position the unit in the water properly?
Float the cradle into place on calm water, align it with the dock, and secure temporary lines. Ensure the bottom of the supports clear the lake bed and that the frame sits level. Small adjustments to toe-in and side brackets help keep the platform centered.
What steps are involved in connecting cables and hydraulic systems?
Route cables over pulleys and through protective sleeves, following the routing diagram. For hydraulic systems, mount the pump and reservoir, hook up hoses, and bleed air from lines. Use marine-grade hydraulic fluid and inspect fittings for leaks before operation.
How do I tension cables correctly?
Apply even tension to both sides using the recommended method—turnbuckles, ratchets, or a manual winch—until the cradle is level. Check cable tension under load and re-tension after a few cycles. Inspect for fraying, corrosion, and proper seating on drums and pulleys.
What should I check in hydraulic fluid and components?
Verify fluid level and use the grade the manufacturer specifies. Look for milky color (contamination) or metal particles. Test pumps and valves for smooth travel and listen for unusual noises. Replace seals or hoses showing wear to avoid leaks.
How do I test for smooth operation after setup?
Operate the unit through several cycles with and without load. Watch for even movement, unusual vibration, or jerky stops. Inspect gearboxes, pulleys, and cable drums for alignment and even wear. Fix binding points before regular use.
How do I adjust for different boat models and weights?
Shift bunks, pads, and supports to match hull contours and balance weight distribution. Verify that the total craft weight stays within the system’s rated capacity. Use adjustable brackets and padding to prevent pressure points on the hull.
What seasonal maintenance should I perform?
Lubricate moving parts, inspect stainless hardware, and tighten bolts. Check cables, pulleys, and the motor for wear. In colder climates, remove or winterize systems per the manual to prevent freeze damage.
What are the proper steps for removal and winter storage?
Lower the platform, remove electrical power, and depressurize hydraulic systems as instructed. Detach components that may corrode and store electronics indoors. Label parts and keep bolts together for reassembly in spring.
How do I depressurize hydraulic systems safely?
Follow the manufacturer’s procedure: shut off the pump, move controls to relieve pressure, and open bleed valves if provided. Wear eye protection and have absorbent pads ready for small spills. Never disconnect hoses under pressure.
Should I tackle this job myself or hire a pro?
If you have mechanical skills, proper tools, and help, you can handle many tasks safely. For complex electrical, hydraulic, or large-capacity units, consider a certified technician. A dealer can offer installation services and inspect your setup for warranty compliance.